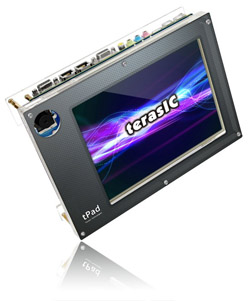
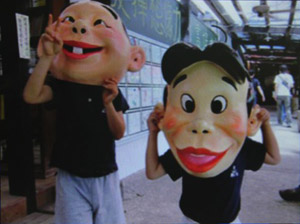
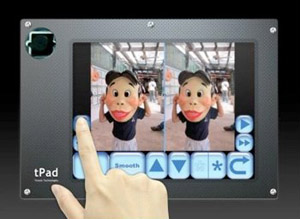
Figure 1. tPad Multimedia Development Kit
Summary
Introduction
In recent times, we have been fortunate to see the rise of a flexible solution for image processing, the FPGA. Going back a few years, the only feasible solutions for image processing were ASICs, but as FPGA have become more competitive in terms of cost and performance, we are realizing the potential FPGAs have over ASICs. FPGAs enable a rapid prototyping environment, negating the relatively high costs and long development cycles of ASIC design. In this article, we introduce a flexible design platform for users to immediately get started with developing their designs on an FPGA system.
Utilizing tPad’s strong multimedia capabilities, we have created an image processing engine. The system supports the following features:
- Dynamic smoothing and edge-enhancing processing.
- Intuitive touch display control.
- Comparative analysis of pre-process and post-process images.
- Memory retention of processed images.
Shown below is a block diagram of our system, outlining our process flow and building blocks. The blocks in the grey area represent the function blocks that we realize within the FPGA, while the blocks outside represent our on-board or external components and control.
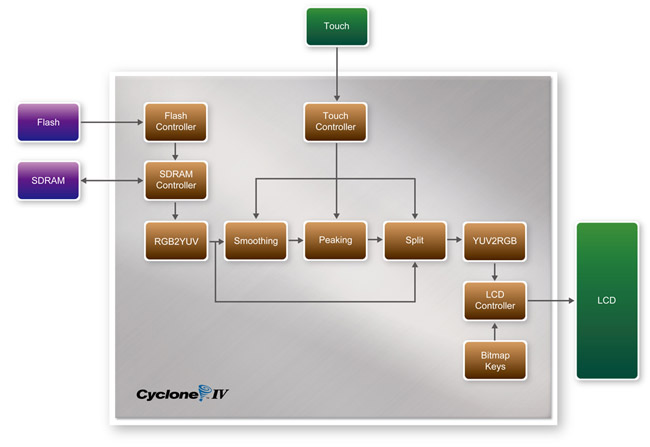
Figure 2. Image Processor Block Diagram
Let’s introduce the system in three separate categories:
- Memory Utilization
- Image Processing
- Touch Panel Control
Memory Utilization
Whereas a traditional IC is fixed in features and memory utilization, FPGAs allow you the flexibility of selecting desired memory platforms which will be used in your end design. For this design, pictures are stored via the on-board flash memory to enable long-term storage, while outputting it to the on-board SDRAM to act as a buffer and prevent long read times. The FPGA itself is designed to integrate both an SDRAM and Flash controller, allowing communication between the two.
Image Processing
Our image processing is separated into various function blocks. We first convert the color space of the bitmap files from RGB to YUV and then perform image manipulation. Color space conversion allows us to process only the Y (brightness) component of the pixels, and we will leave the UV components untouched until we convert back the color space back to RGB for display on our LCD.

Figure 3. Image Processing Flowchart
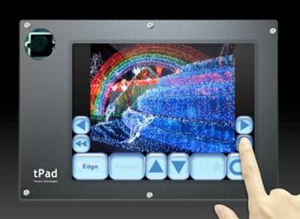
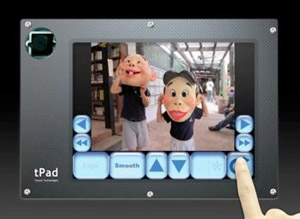
After we have our desired color space, our loaded image is processed through a series of filters that affect the outcome. Depending on the weighting of the smoothing (low-pass filter) and peaking, our picture will end up being blurry or edge-enhanced. Adjusting the arrows on-screen selects different low-pass filters for the smoothening process. Peaking on the other hand, enhances the difference between the pixels to create more pronounced edges and adjusts accordingly with the specified levels.
Touch Control
The tPad features an 8-inch touch screen, so we can integrate an intuitive touch control scheme where users of the application can browse through multiple photos, scroll through individual pictures, and manipulate images just by touching the buttons on screen. The buttons themselves are bitmap files loaded onto the internal memory of the FPGA.
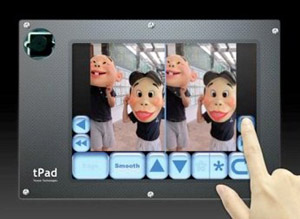
The up/down arrow keys adjust the level/weighting of the edges and smoothing, while the “Compare” button displays the original picture along with the modified picture.
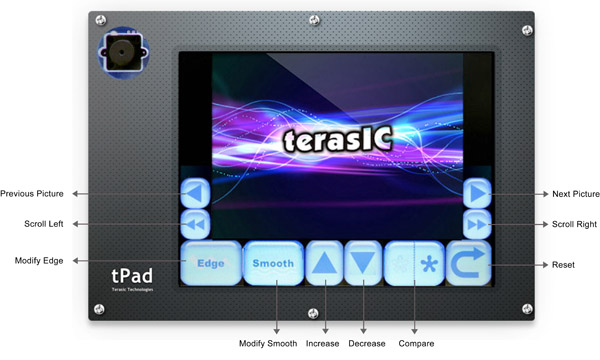
Figure 4. GUI Layout
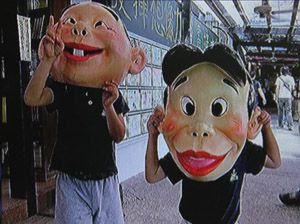
We demonstrate how to operate the system in the below pictures:
- By first selecting the “Edge” button, we can adjust the strength of peaking within the image by pressing on the up arrow or down arrow to adjust the peaking to be higher or lower respectively. A higher value for edge results in more pronounced edges and noise in the picture.
- By selecting “Smooth” we can select the weighting of the low pass filter to be higher or lower with the arrow keys. Adjusting the smoothing to be higher results in a blurrier image and vice versa when lowered.
- The images that are stored in flash can also be browsed by pressing on the single-arrow images.
- We can also reset to the default values by pressing on the loop key in the right bottom corner.
- To compare with the original image, we can select the double-star icon in order to view both images at once. We can then move the picture around by pressing on the arrow keys to scroll around both pictures.
 |
 |
|||
| Figure 5. Edge-enhanced Image | Figure 6. Smoothened Image |
 |
 |
|||
| Figure 7. Selecting Next Image | Figure 8. Resetting the Image |
 |
 |
|||
| Figure 9. Scrolling Right | Figure 10. Scrolling Left |
As we have seen from this application, FPGAs are indeed a powerful system for image processing, and even more so with costs coming down. It’s easy to see that re-programmability has become easily feasible for engineers to adopt as their primary platform for development, as users can also choose to expand upon and modify the this design in their own fashion. While ASICs face the risk of becoming obsolete, FPGAs provide a cost-effective solution for prototyping unlimited amounts of possibilities.
* To request the source code for this project, please email us at: support@terasic.com
.
* tPad is also known as Video and Embedded Evaluation Kit (VEEK)